


1、Digital Whiteboards for Design: Lagging Issues When Drawing Wireframes
While brainstorming and mapping out user flows on the whiteboard proceeds smoothly, the entire workflow completely breaks down the moment you attempt to transition from the conceptual ideation phase to the actual creation of wireframes.
Older versions of Android may be the root cause of the issues you are currently experiencing. When writing or adding annotations, you must use a stylus—specifically, the original stylus provided by the device manufacturer. This is because the stylus driver software has been specially optimized to ensure seamless compatibility with the Android operating system running on this digital whiteboard; consequently, you cannot use third-party styluses that have not undergone this level of deep-level compatibility testing.
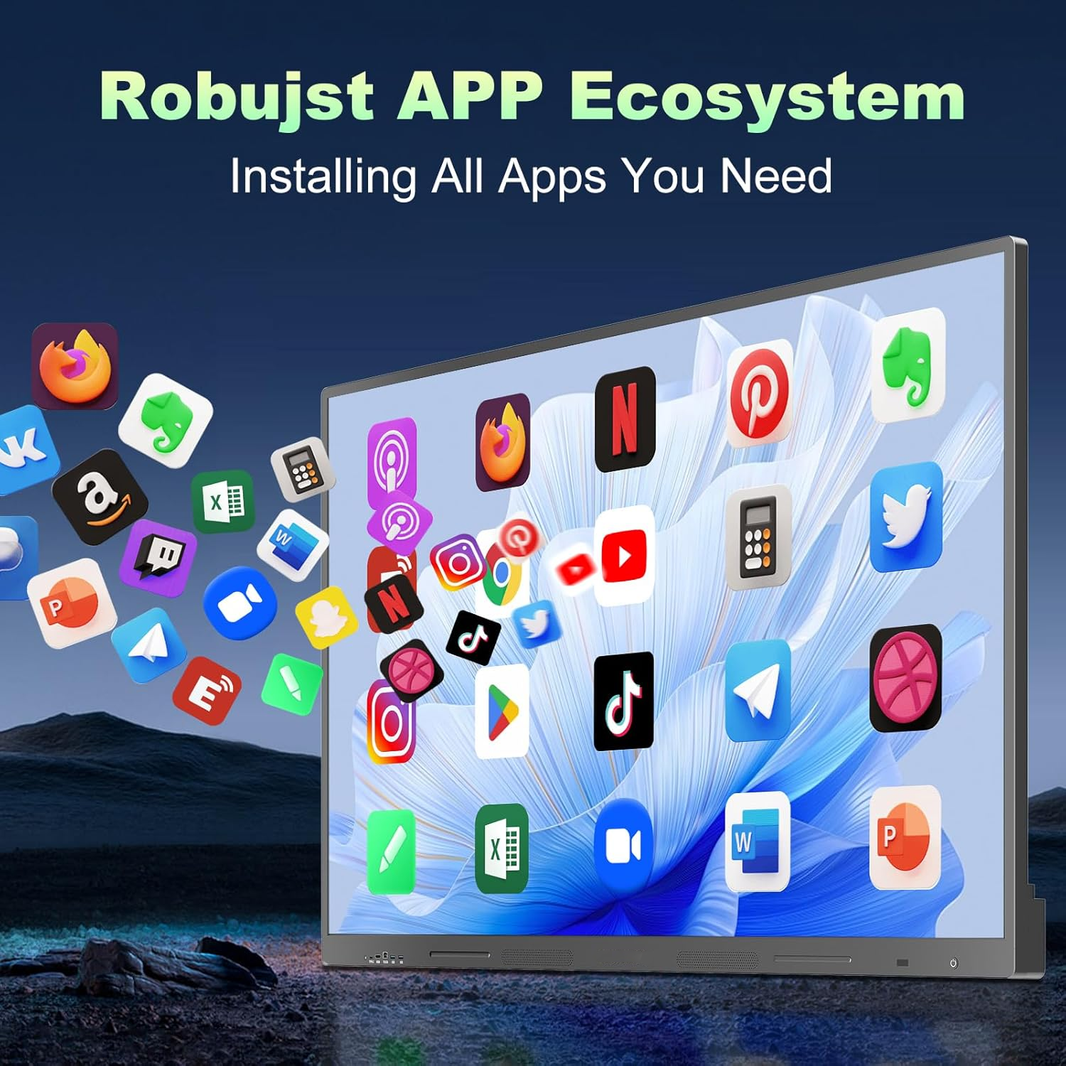
2、Its built-in dual-system digital whiteboard (Windows and Android)
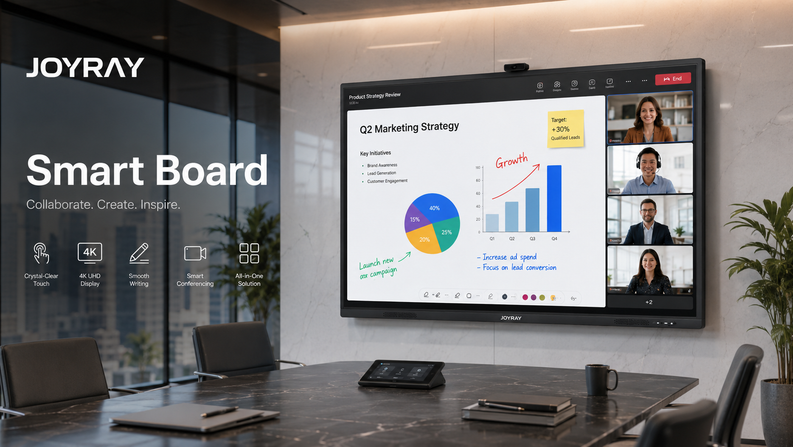
This morning, our Sales and R&D teams gathered in a small conference room (accommodating up to 10 people) to experience our latest product launch: the JYR189808H "Integrated Conference Terminal."
Thanks to its built-in dual-system architecture—featuring both Windows and Android—we were able to run Adobe Photoshop files within the Windows environment while simultaneously conducting presentations and making annotations in the Android environment. The ability to switch seamlessly between the two operating systems via floating shortcuts significantly boosted our work efficiency, saving us a considerable amount of valuable time.
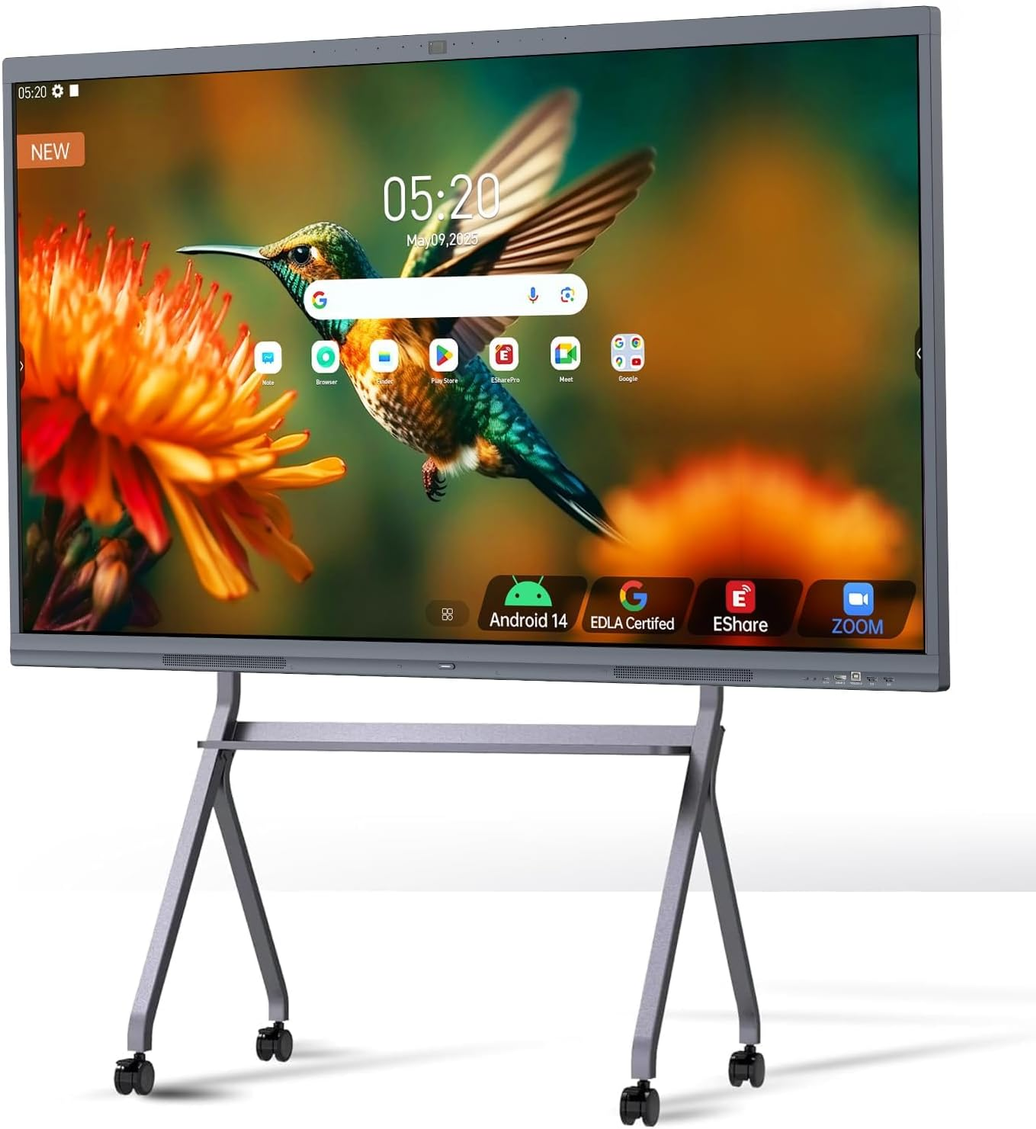
3、Main Interface
Upon powering on the device, the system enters the Android Home Screen. At this stage, the system displays the factory default startup interface (the UI interface is customizable); its UI layout is shown in the figure below.
UI Interface Keyboard Shortcuts:
 Click to open the writing whiteboard.
 Tap to initiate wireless screen mirroring.
 Click to open in a web browser.
 Upon clicking to open, you will default to the Android internal file manager; once inside, you can select external storage devices.
 Click to access the Android application interface and menu settings.
 Click to open the settings menu.
 Click to open shutdown options.
4、Digital Whiteboard Writing Function
Click the whiteboard icon on the homepage to enter the following interface:

A、 Writing Board Settings
 Click the button to display the interface below.

 Select this option to enable stroke effects; when enabled, your handwriting will feature lines with varying thickness. The degree of stroke variation can be customized.
 Standard Writing
 Automatically recognizes handwritten content and generates corresponding text and numbers.
(1)This image shows that the automatic text recognition feature is enabled.

 With the help of the automatic shape recognition feature, when you manually draw irregular circles, triangles, or squares, the system will automatically generate standard circles, triangles, or squares.
(2) This image shows that the automatic text recognition feature is enabled.

 Regarding pen color selection: In addition to the 9 fixed color options displayed, you can also manually adjust the color.
 Writing pen thickness adjustment
5、Writing Board Erase Function(A multi-finger pinch gesture will be recognized as the erase function.

 Tap the "Erase" icon to activate the erase function; additionally, even if the icon is not selected, touching the screen with your fingers held together will also be recognized by the system as an erase operation.
 Click this icon to clear all entered content with a single click.
 Select the "Erase" function and circle the area you wish to remove; that area will then be automatically erased.
 Undo Function: Click to undo the previous action.
 Redo Function: Restores previously undone actions.
7、Whiteboard Content Storage and Processing Capabilities

 Click the icon in the bottom-left corner to display the menu shown in the image above. Through this menu, you can perform a variety of actions—such as loading files onto the canvas, creating content, saving your work, sharing content via QR code or email, changing the canvas background, viewing information related to whiteboard features, and toggling various switches and other functions.
 Click the icon in the bottom-left corner of the canvas to save your content. Available save formats include: Images (JPG/PNG), Documents (PDF), and Files (.BZD).


 Tap this icon to select text content and perform actions such as deleting, copying, or searching. Tapping "Search" automatically opens your web browser, using the selected text as the search query; this feature also supports a long-press gesture. Subsequently, you can directly paste images or text from the webpage onto the canvas.

1)、The file loading function for the whiteboard canvas is shown in the figure below.

 Click this icon in the bottom-left corner of the digital whiteboard canvas to load an image (Supported image formats: JPG/PNG; Supported file format: BZD).
2)Share digital whiteboard content via QR code.

 lick the icon in the bottom-left corner to display the interface shown in the image above. When the toggle switch is enabled, scanning the QR code requires entering the password displayed in the image to gain access; if the switch is disabled, no password is required. If the password is subsequently changed, you must first disable the switch and then re-enable it for the changes to take effect. (Note: This feature requires an active network connection.)
3)Content written on the digital whiteboard can be sent via email, as shown in the figure below.

 Once the digital whiteboard is connected to the network, please click the icon in the bottom-left corner to display the pop-up window (as shown in the image above). When sending an email, you can edit both the subject line and the body content; additionally, you can configure the "To" and "CC" fields to send the email to multiple recipients. Please use a semicolon (;) to separate individual contact addresses.
4)Digital Whiteboard Writing and Drawing Tablet: Background Replacement Feature

 Clicking this icon displays the window shown above, allowing you to select the background color and style of the artboard.
5)Digital Whiteboard Writing Function Switch (as shown in the figure below)

 Click this icon in the bottom-left corner of the canvas to display the image shown above.
6)Digital Whiteboard/Drawing Tablet: Add Page Feature

 Click the symbol in the bottom-right corner of the canvas to add a page number.
 Clicking this icon will display a page preview, as shown on the right side of the image above.
7)Automatically generates standard shapes after freehand drawing.

 Click this icon to freehand-draw various shapes—including 2D figures, 3D figures, and tables. When the auto-recognition feature is enabled, the system will automatically recognize your hand-drawn sketches and generate standardized shapes.
8)Digital Whiteboard Dual-Color Pen Settings

When "Dual-Tip Pen" mode is enabled, the system automatically supports multi-point writing functionality but does not support zooming operations. By tapping the pen icon, you can independently configure the color, stroke style, and line thickness for both the thick and fine pen tips. Additionally, when utilizing pen tips of varying thicknesses, you must also configure the switching threshold between the thick and fine tips.
 Clicking this icon will display the following interface

You can configure the thresholds for the eraser, fine pen, and thick pen. First, click the "Detect" button on the right side; the screen will indicate that detection is currently in progress. Next, touch the threshold detection area on the left to input the specific threshold values. Once configuration is complete, simply click "Save." Note: It is recommended to maintain a significant difference between the fine pen and thick pen thresholds to ensure accurate system recognition.
9)Digital Whiteboard Writing Widget
You can use various tools: a ruler, compass, protractor, and set square; as well as file transfer, voting tools, a calculator, and a timer.

a. Triangle Ruler: Measures length, width, and height; can be dragged, rotated, lengthened, and shortened.

b. Ruler: A tool used for drawing straight lines; it can be dragged, rotated, lengthened, and shortened

c. Compass: A tool used for drawing circles or arcs; it can be dragged, and its radius can be freely increased or decreased.

d. Protractor: Measures angles (in degrees).

10)Digital Whiteboard Split-Screen Writing Feature: Users can configure the number of split screens and the background color. Once the settings are confirmed, the split-screen writing feature can be enabled; please note that split-screen writing supports single-finger input only.


11)Digital Whiteboard File Quick Transfer Feature

 Click this icon to connect your mobile phone and the digital whiteboard to the same Local Area Network (LAN). You can then use WeChat on your phone to scan the QR code and upload various types of files, including images, videos, and documents.
12)Digital Whiteboard Calculator Function

 Click this icon to open the calculator
13)Digital Whiteboard Voting System Features

 Click this icon to launch the voting system. Please use a mobile device to scan the QR code displayed on the screen to create your voting content; the digital whiteboard will then generate a dedicated QR code specifically for this voting channel.
14)Insert a signal source while the digital whiteboard is in writing mode.

 Click this icon to open the "Signal Source Insertion" window. Once a signal source is selected, the corresponding signal source image will be displayed
15)Digital Whiteboard Timer Function

 Click this icon to enable the countdown feature within the app.
16)Digital Whiteboard Mind Mapping Feature

 Click this icon to enable the mind mapping feature, allowing you to enter content directly into the table and automatically recognize handwritten text
17)Digital Whiteboard: Insert Table Feature

 Click this icon to insert a table, where you can select the number of rows and columns; you can then enter content directly into the table
18)Digital Whiteboard: Four-Line Guide Feature

 Click this icon to insert a four-line grid, where you can select the number of rows and columns; you can then enter content directly into the table.
19)Digital Whiteboard Feature: Replace Shape Background Color

 After clicking this icon, you can select shapes such as circles, squares, triangles, and five-pointed stars, and change their backgrounds to various colors
20)Digital Whiteboard Web Insertion Feature

 Click this icon to insert a webpage from your web browser
21)Digital Whiteboard Document Insertion Feature

 Click this icon to insert various types of documents, such as videos, text, and tables.


Leave a comment